Get Your Tools Installed (Mac)
You will be installing the required tools and software for the course. There's a lot to get through, so buckle in and get ready!
Before You Begin
First, create accounts for the following services, which you'll need throughout the course. Don't just create logins; job recruiters often scour these sites in search of job candidates, so be sure to provide at least a headshot and contact information.
Note: You should create a full profile highlighting your skills and work experience, and include a headshot.
In addition, be sure to accept the invite for your section on Slack. You will receive the link to your class-specific channel during orientation.
Tool and Software Installations
Follow the instructions below to complete the installation process for all of the required tools.
Google Chrome
Step 1. If you don’t already have Chrome installed, visit the download page here.
Step 2. Download, open, and run the installation file.
Slack
Step 1. Search for Slack in the App Store. Click Get under the app name and icon, and then click Install.
Step 2. When the installation is complete, add our channel to your application.
Step 3. Click the header of your current Slack channel.
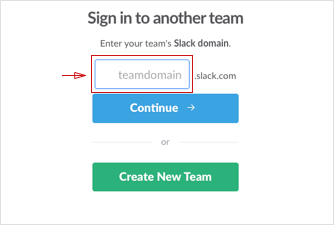
Step 4. Select Sign in to another team.
Step 5. Enter the Slack domain provided to you during orientation.
Step 6. Enter your email (the one that the Slack invite was sent to) and password.
Microsoft Excel
Step 1. If you do not have access to Excel, a free trial of the latest version of Excel is available from Microsoft. The free trial will give you access to the latest version of Excel for one month. You should not start your free trial until the first day of class to allow for continuous access to Excel during the first unit of the course. Remember, before completing your purchase, make sure that you've selected the correct operating system and version.
Step 2. Follow the link and install Office 365. You will not be charged anything as long as you cancel before the free trial period ends.
- There are also several free alternatives to Microsoft Excel, such as Google Sheets and Apache OpenOffice. You are more than welcome to use one of these, but be aware that we will be using Excel in class and there may be some differences in commands and functionality.
XCode
Xcode is a development suite exclusive to Mac. We will primarily be using Visual Studio Code in this course, but installing Xcode will set up some of the other required boot-camp programs including Git, which coders depend on for logging the development of programs and applications.
To install, open up the App Store on your Mac and search for Xcode, then click "Get".
Terminal
You’ll be entering your command line code through this interface. Since you’re on a Mac right now, you already have it! Just follow these steps to open the program.
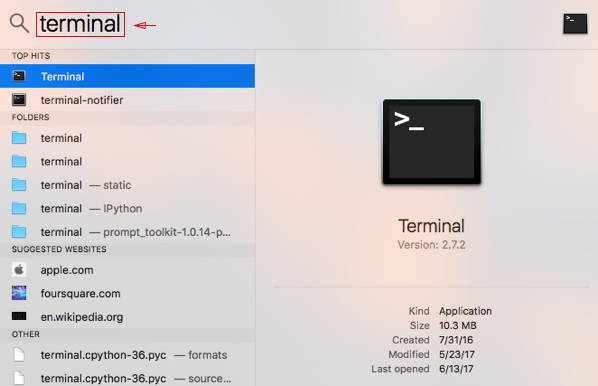
Step 1. Press command+space bar to open Spotlight Search.
Step 2. Type terminal into the search and then press Enter.
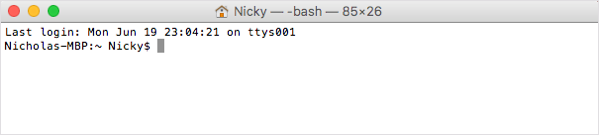
Step 3. Keep this window open; you’ll need it for the next steps.
Homebrew
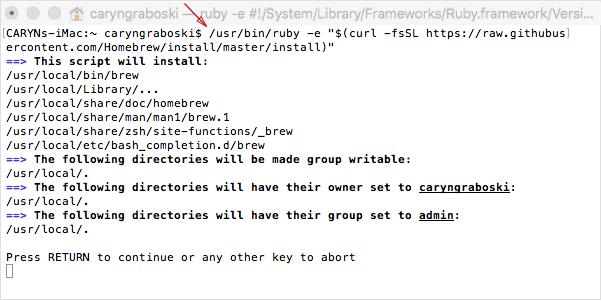
Step 1. Go to Homebrew. Copy the script listed under Install Homebrew.
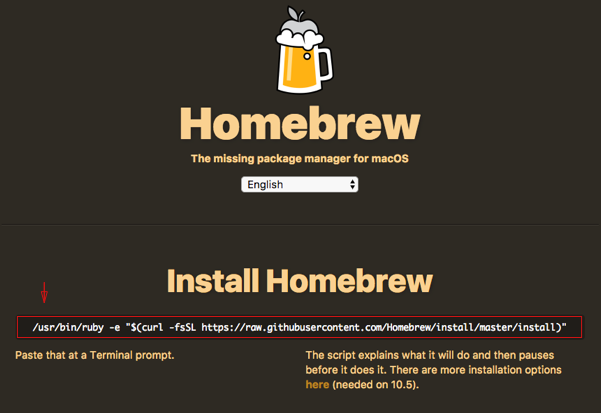
Step 2. Paste the script into your Terminal window. Press Enter.
Mongo DB
We won't be using Mongo DB until later in the course, and since the installation process is somewhat involved, we'll be going through it together in class. But if you want to get a head start, you can find installation instructions for Mac users here.
Token Setup Guide
To complete the following steps, you'll need to sign up for an account on the GitHub website if you haven't already:
-
Click your profile image in the top-right corner of the GitHub website, and choose Settings from the dropdown menu.
-
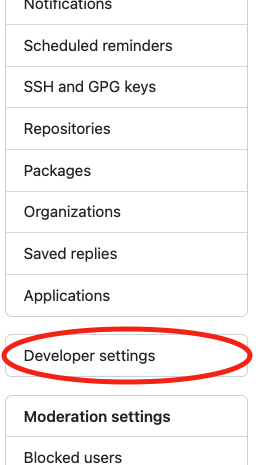
Scroll down and select "Developer settings" on the left, as shown in the following image:
-
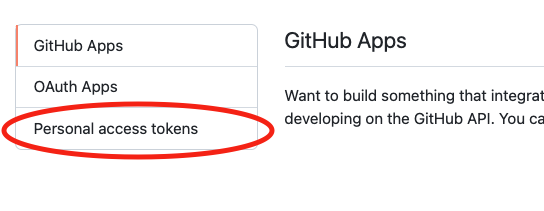
Click "Personal access tokens" from the left, as shown in the following image:
-
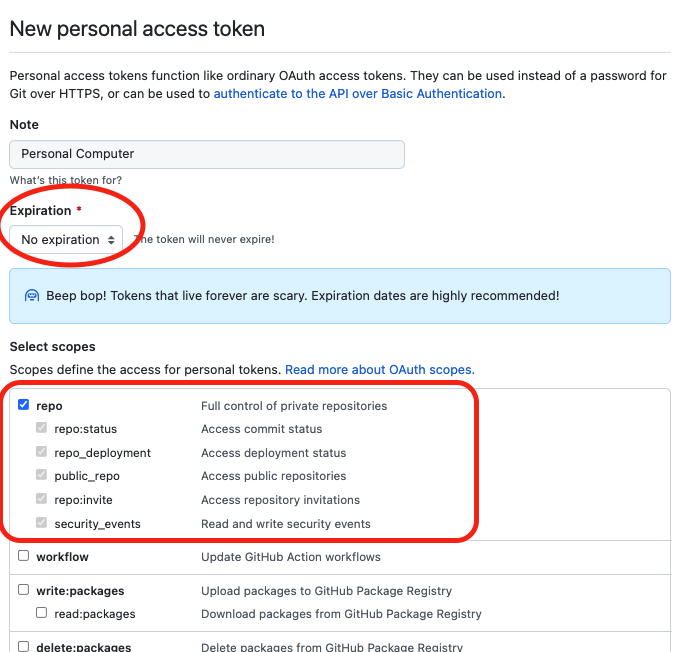
Click "Generate new token" in the upper right, configure for "No expiration," and check the "repo" box for full control of private repositories, to match the following image:
-
After generating the token, leave the page open. You will need to use the token for authentication in a later step.
Next, follow these steps in your command line:
-
Checkout the branch you want to push to GitHub.
-
Run
git push origin <branch_name>, pushing your local branches to your shared repository. -
When you receive the
Username for 'https://github.com':prompt, enter your GitHub username. -
When you receive the
Password for 'https://<username>@github.com':prompt, copy and paste your personal access token from the GitHub window left open in the previous step. -
You have now pushed the local branch to GitHub, allowing your teammates to access it later!
-
Checkout the
mainbranch and then rungit pull.
Nice work! As you will learn, GitHub is a collaborative tool—you can pull any changes down to your local repository quickly and easily, allowing you to easily share different versions of your code across workstations and to easily checkout and test those versions on your local computer.
VS Code
Step 1. Go to the setup page on the VS Code website and select Mac as your platform.
Step 2. Open your Downloads folder and click on the file to unzip.
Step 3. Drag the file to your Applications folder.
Great Job!
Now we just have one last tool to install before moving on with the pre-work!